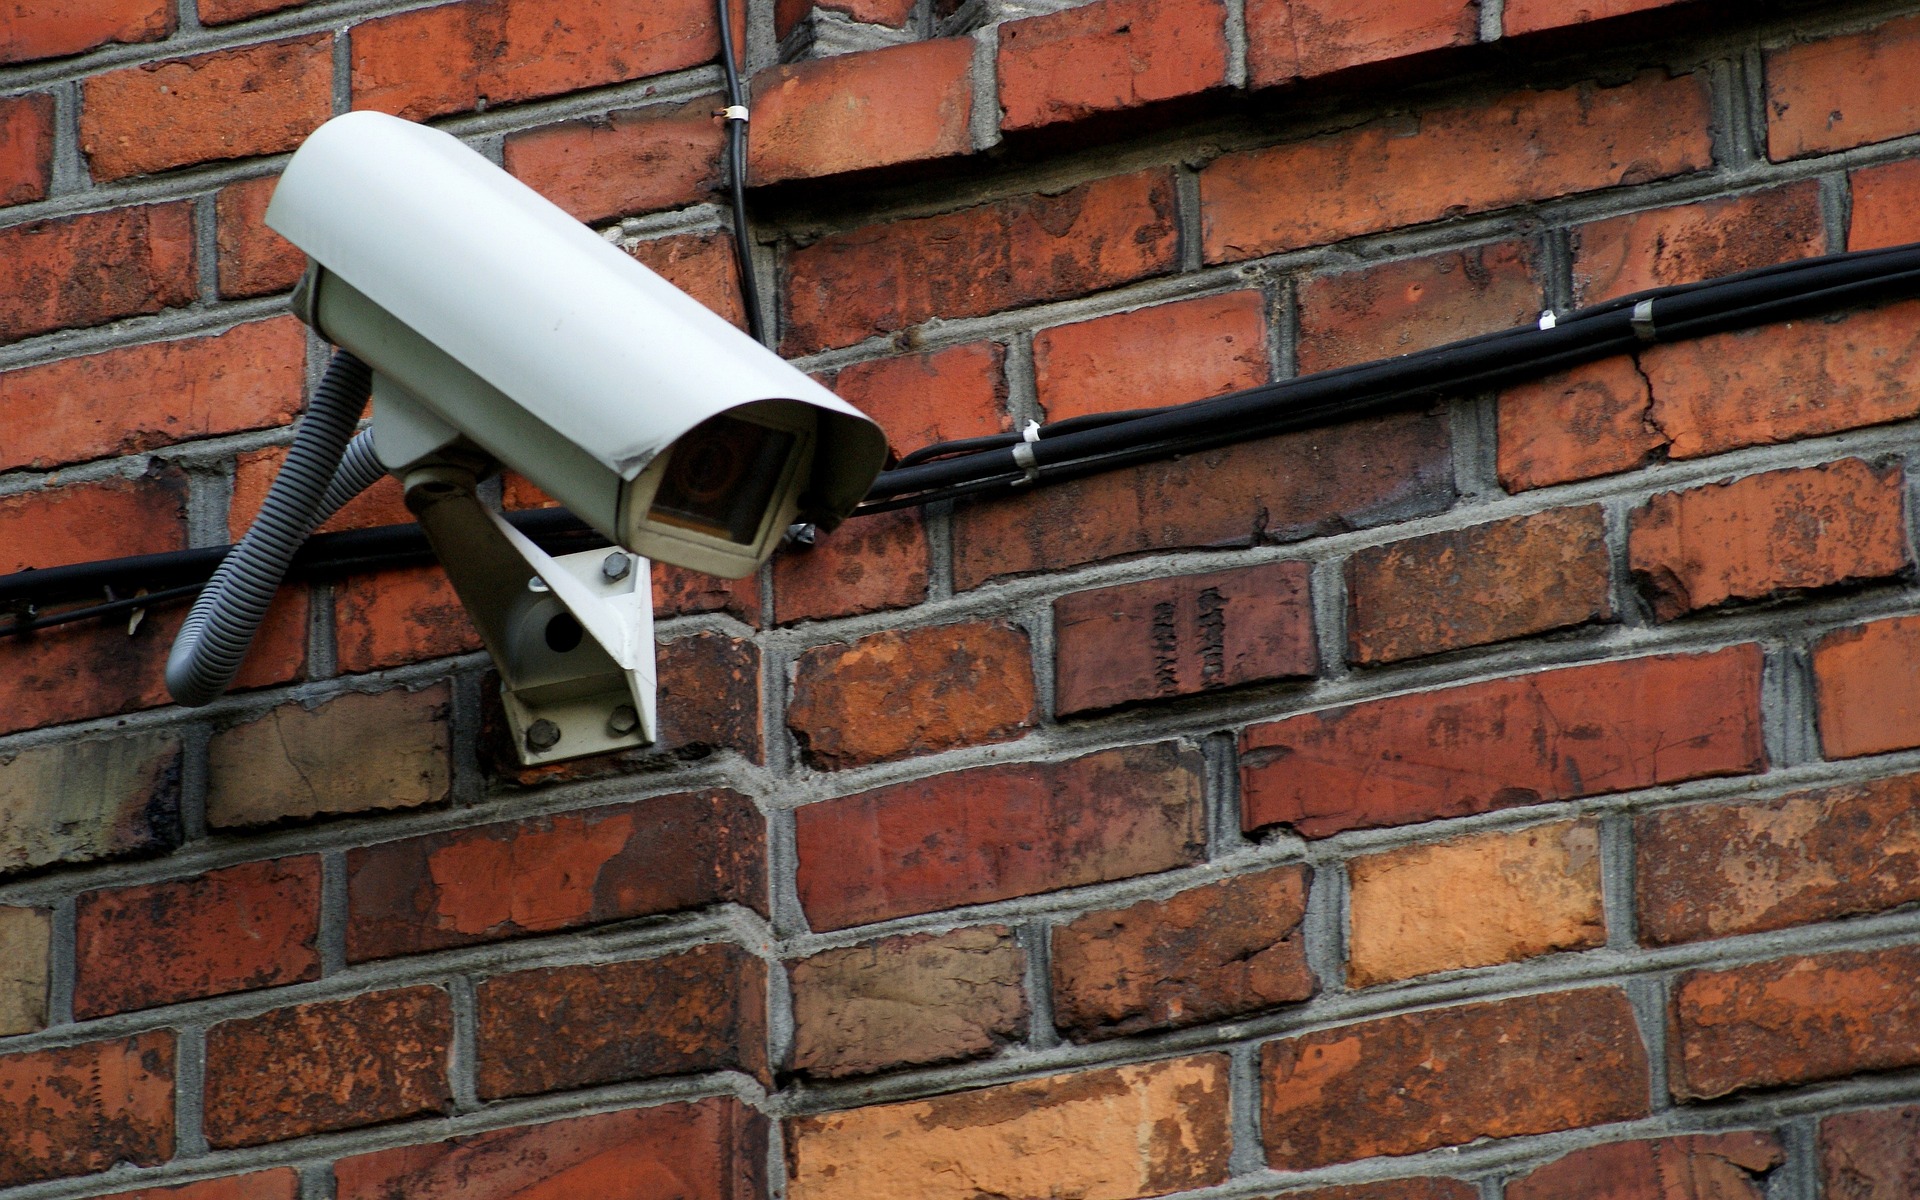
Camera surveillance for your business as part of your workflow
If you work with campers and caravans, you know how quickly “just leaving something outside” can turn into trouble: damage, loss, or disputes about what exactly happened. Camera surveillance is not a standalone gadget, but something you cleverly weave into your daily workflow. Think of fixed routines around opening and closing, key management, site rounds, and incident registration.
If you want to delve into the building blocks of business camera surveillance, view it as a chain: from identifying risks to installation, management, and privacy. The steps below provide a practical approach for a site with valuable vehicles and a lot of movement.
Step 1-2: Identify your risks and camera zones
Start with a sober inventory: where do things go wrong, where is there a lot of traffic, and where do vehicles stand still for a long time? Think of driveways, parking bays, workshop doors, areas around key management, and the point where you hand over vehicles.
Think in zones, not in individual cameras
Thinking in zones prevents blind spots and unnecessary overlap. For example, create an “access and exit” zone for overview and a “storage and parking lanes” zone for continuous imagery. This way, you immediately work purposefully on camera surveillance for your parking lot and 24/7 video surveillance for company vehicles, without having to delve into technology yet.
Step 3-4: Choose detection, image quality, and storage that supports your process
Now that you know where you want to look, choose what you need to actually do something with it. AI detection (human/vehicle) significantly reduces false alarms, so you don't get overwhelmed by “noise.” And if you need to be able to review details in low light, such as actions at doors or around vehicles, then 2K/4K and strong night vision make the difference.
Cloud or local (NVR/SD): choose based on control and continuity
Next, you determine how your storage supports your work. Cloud often revolves around convenience and ubiquitous access, while local storage (such as NVR) gives you more direct control and makes you less dependent on the internet. Whatever you choose: ensure that images remain available during malfunctions and that you can set retention periods that match how you handle incidents.
Step 5: Integrate camera surveillance with your daily routines
This is where you gain the real advantage. Make camera use part of “this is how we work here”: check moments when opening and closing, fixed steps for key issuance, registration for vehicle movements, and a standard approach for damage reports. Then camera surveillance is not just something for when things go wrong, but a tool that streamlines your process.
Combine with lighting, alarm, and access control
If you want prevention that really works, combine cameras with good site lighting, an alarm system, and access control (such as a gate or barrier). This creates one logical line: detection, deterrence, and follow-up, without isolated islands.
Step 6-7: Arrange privacy (GDPR) and ensure management and maintenance
If you film, you also bear responsibility. Agree in advance where you will and will not film, how long you will store images, and who can access them. Keep it purposeful: only film what is necessary, inform visitors and employees, and limit access to images.
Then ensure that your management is as serious as your installation. Schedule fixed checks for camera angles, updates, storage status, and connection (wired where necessary). A CCTV installation for a garage or storage facility must be reliable; maintenance is precisely what ensures your system works when you need it.