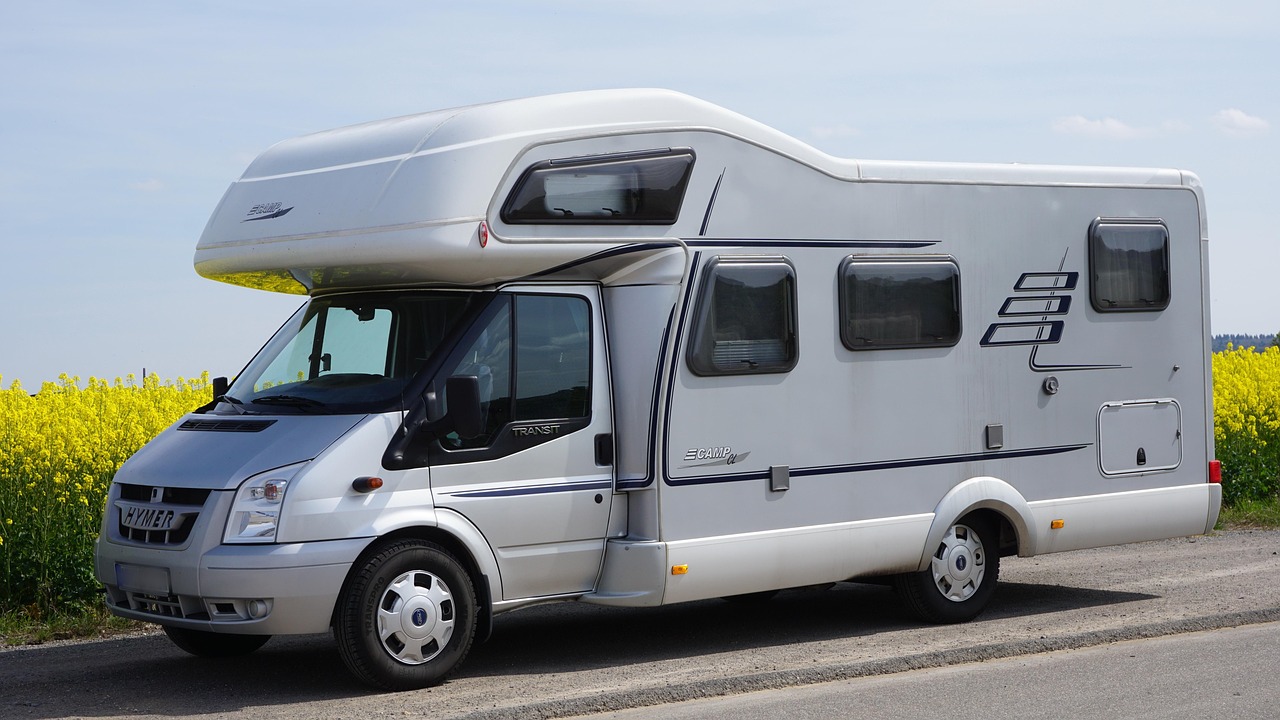
How to effectively insulate against noise pollution in your camper?
Traveling with a camper stands for freedom, flexibility, and the feeling of being at home everywhere. But those who travel more often also know that noise pollution can really spoil the fun. Think of passing traffic, wind hitting the walls, or vibrations while driving. Poor acoustics can disturb your sleep and make long journeys tiring. Fortunately, with the right approach, you can do a lot to insulate sound in your camper and significantly improve comfort.
Why sound insulation in your camper is so important
A camper is naturally less well insulated than a house. Thin walls and a lot of metal mean that sound is easily transmitted and amplified. As a result, you hear every drop of rain, every passing truck, or every rattle in the interior.
By insulating sound in your camper, you not only create more peace while sleeping but also more focus while driving. Less noise means less stress and more relaxation – exactly what you want during a road trip.
Choose the right materials
Good sound insulation starts with the right materials. Not every product works equally well in a small, mobile space like a camper. It's about a combination of absorbing and blocking.
Popular choices are:
- Insulation foam for absorbing reverberation and low frequencies
- Acoustic panels or mats for walls and ceilings
- Thick curtains and upholstery for extra damping
Specialists like Fibers & Foams offer materials that are lightweight and effective, which is ideal for campers where weight plays a role.
Practical steps for installation
Insulating your camper doesn't have to be a complicated project, as long as you work systematically.
- Clean and degrease surfaces so that materials adhere well.
- Measure everything accurately and cut insulation material to size.
- Start with the largest noise sources, such as doors, wheel arches, and floor.
- Use strong adhesive or tape that is suitable for vehicles.
- Seal gaps with weatherstripping around windows and doors.
Work layer by layer: first vibration damping, then sound absorption. This way you achieve the best result.
Don't forget the interior
In addition to insulation material, the interior also helps to dampen sound. Soft materials make a big difference.
Consider:
- Cushions and upholstery
- Rugs or mats
- Curtains
- Storage compartments with textiles
These break sound waves and reduce reverberation. This way, your camper not only feels quieter, but also cozier.
Common mistakes to avoid
Sound insulation often goes wrong due to small details. A few pitfalls:
- Using material that is too thin
- Blocking ventilation
- Skipping gaps
- Only focusing on one spot
Sound always seeks the weakest link. Therefore, ensure a total solution instead of isolated adjustments.
Conclusion
Soundproofing your camper is an investment that immediately pays off in comfort. With the right materials, a well-thought-out installation, and smart interior design, you can significantly reduce disturbing noises. The result? Better sleep, less fatigue while driving, and a camper that truly feels like a quiet home base. This way, you'll enjoy every trip even more, wherever the road takes you.